Restore Your Leather at Home
Does your leather look a little tired? All may not be lost. Follow this guide to give new life to your leather.
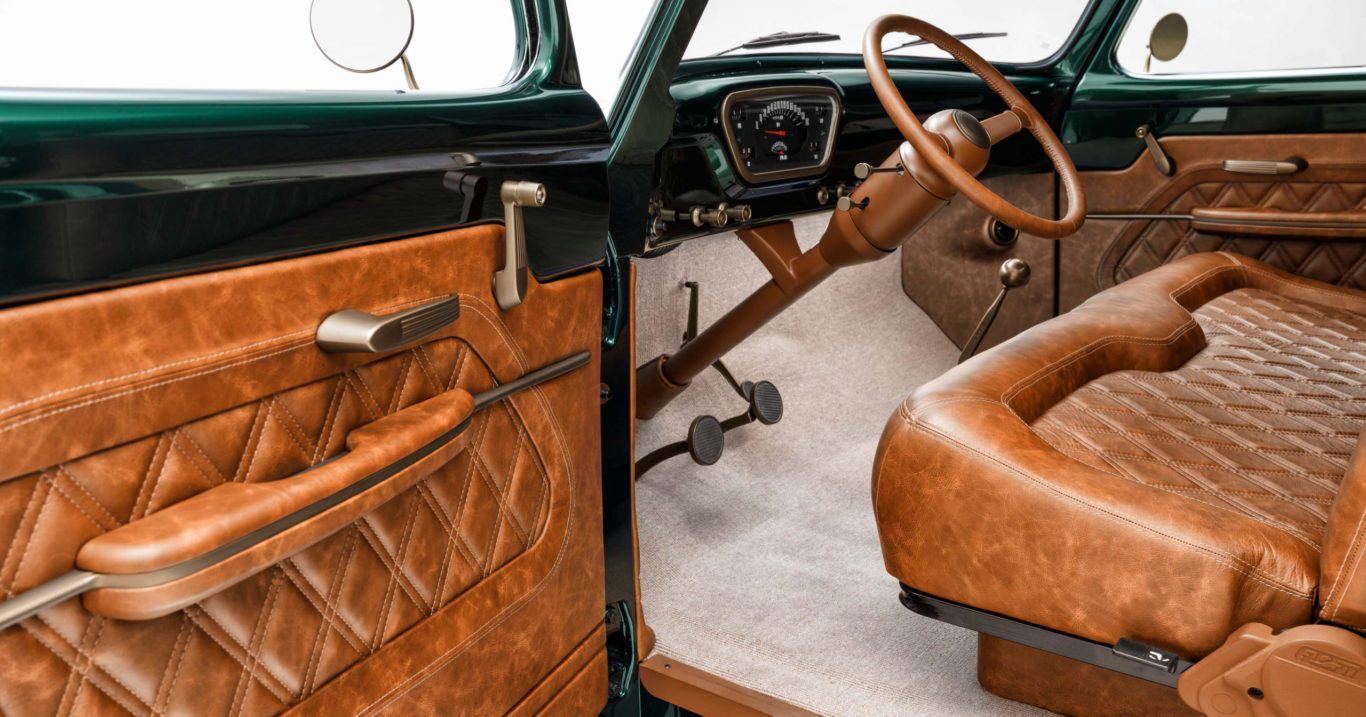
One of the reasons we all love leather interiors so much is their durability. When properly maintained and cared for, leather interiors should last a lifetime of use.
That being said, after consistent use for years and years, your seats may be showing signs of wear and tear. Things like cracks and worn patches might make you consider drastic measures like having your seats reupholstered or buying new ones altogether. However, before going to such lengths, look into restoring your leather and giving it new life.
Here is a guide for how to choose and get the best out of various DIY leather restoration kits.
- Before purchasing your kit, you’ll need to make sure that the colours will match. This can be done by tracking down the manufacturer’s colour codes or colour name for your interior, or by sending a leather swatch to the distributor of the restoration project. Check under your seat for a leather swatch placed there specifically for this purpose.
- Once you’ve purchased the kit with the correct colour, it’s time to start disassembly. Your job will be much easier if you can remove as much of the leather you will be working on from your car as possible. Having the space to stand and move around your seats in the garage will be much easier than doing the work inside the cabin of your vehicle
- Now it’s time to really get started. Use the hand tool of your vacuum cleaner and a soft-bristle brush to remove as much dirt and debris that has made its way into the seams of the seats. Now use the cleaner that came in your leather treatment kit to get rid of the more stubborn stains. Use a soft cloth or a damp sponge to help the cleaner do its work.
- Remove any residue left by the cleaner with a clean, dry cloth and wipe the leather with a mild solvent like isopropyl alcohol and let the leather dry.
- Once clean and dry, you can begin restoring the leather. Take a close look at the damaged areas of the leather and assess if the material is worth restoring. If there are any major tears or is paper-thin, it might not be worth your effort. Minor imperfections can be carefully removed with an extremely mild abrasive, like 600 grit sandpaper. This process should be followed by another round of cleaning.
- Now it’s time for the application of the leather dye. Test a small amount of the dye on an unimportant area of the seat, like underneath an armrest. If you are happy with the colour match, proceed according to the manufacturer’s instructions. We have found that it’s best to apply the dye with a sponge, rather than a brush.
- For creases and small cracks, we think it’s best to dilute the dye with water by about 30%. After rubbing into the leather, wipe the excess off with a damp cloth. The product should be removed from the healthy leather, but stay in the cracks and creases.
- After the cracks and creases have been dealt with, you can turn your attention to any faded areas where colour has been worn off. For these areas, you can apply the undiluted product and let it dry completely. Consider finishing off this step with an application of 20% diluted product and wiping everything down with a clean and dry cloth.
- Finally, let the leather dry overnight. It’s imperative that the leather be completely dry before applying the conditioner. The leather conditioner should make your seats look and feel rich and beautiful, like the very first day you brought the car home with you.
If you didn’t know before reading this guide, you will have learned that leather restoration is a labour-intensive process. Don’t be discouraged, it is a worthwhile endeavour that has the potential to have your car looking better than ever. If the process seems intimidating, or you simply don’t have the time, don’t worry. Leather restoration and interior detailing are our specialities.