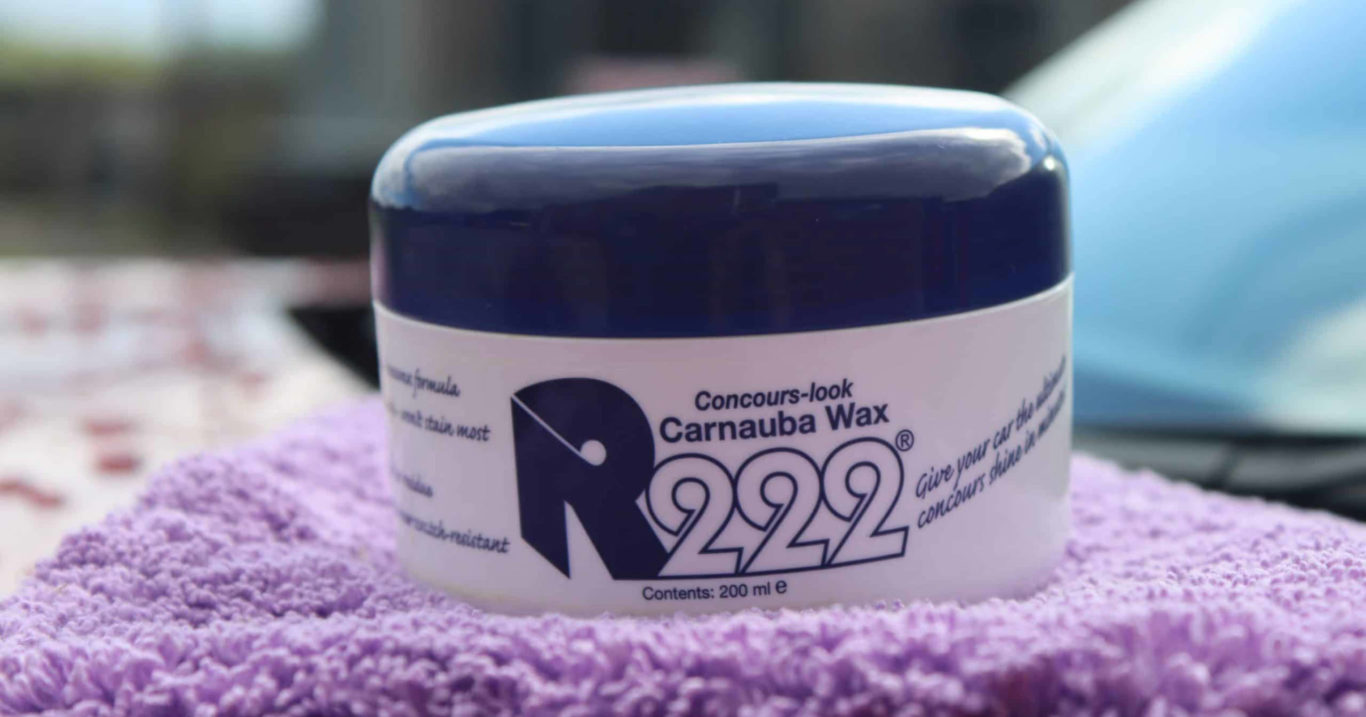
Need to Know: Automotive Wax (2/3)
This week, we talk about how to choose the best time of day and how to properly prepare your vehicle for waxing
After last week’s article about how to select the right type of automotive wax for your vehicle, it’s time to talk about how to use it. In this article we’ll discuss 2 things: how to choose the best time and location to wax your car, and how to prep your car for the job. Arguably, both these steps are just as important as the type of wax you use and how well you apply it.
When to Wax
Auto wax performs best at relatively cool, but not freezing cold, temperatures. That means that by selecting the appropriate time of day, the wax will be easier to work with and you will get a better result.
You do not want to attempt waxing your car in direct sunlight, or in freezing temperatures. Spring time in Victoria usually has great conditions for waxing your car.
- Ideally, you can find time to apply the wax in the shade when it’s about 10 to 15 degrees.
- Avoid windy days, which can blow pollen, dust, and other particles onto your car while you are trying to wax it.
- If you are able to apply the wax inside your garage, that is perfect. By doing it inside you avoid several problems, notably, you will be able to avoid contamination by bird droppings or airborne particles, you won’t have to worry about sunlight, and the temperature will be more consistent.
Necessary Prep Work
Step 1: Clean
The goal of waxing your car is to get a thin layer of protective wax adhered to your paint. That means that there can be nothing on top of your paint to prevent the wax from sticking, so a thorough clean is imperative to a successful wax.
Using the two bucket car wash method, get your car crazy clean and ready to accept an application of wax. When choosing the soap, simply use a purpose-made automotive soap. Avoid harsh detergents or cleaners – even dish soap is too aggressive, and could actually do more harm than good. You want to make sure the soap you use isn’t a “Wash & Wax” product that will leave behind a residue – just choose a simple soap.
As the waxing process involves a lot of buffing, (Karate Kid, anyone?), making sure that your car is clean will also protect from you inadvertently scratching the paint while you wax-on wax-off.
Step 2: Repair and Polish
If you demand the best results possible and have time to spend (lately, who doesn’t?), the best thing to do after cleaning your car would be to repair any blemishes and polish the paint. Wax preserves and enhances the quality of the paint underneath, so making the paint as perfect as possible before adding the wax is how the pros get such great results. It takes some elbow grease, but isn’t too bad.
In this step, you are aiming to remove things like super fine scratches, water spot etching, and light swirl marks. To do this, you want to use a mildly abrasive polishing compound, such as this polish from Turtle Wax.
With any polishing compound, follow the directions and make sure to keep it away from vinyl and plastic trim. If necessary, use tape to protect these areas.
An added benefit to these polishes is that it will remove any previous layers of wax, leaving you with a pure clear coat.
Stay Tuned for Part 3
Now that we have chosen the perfect wax and have our cars spotless and prepped, it’s time to talk about waxing techniques. Next week will be all about the best practices for applying and buffing various types of wax. Stay tuned and, as always, never hesitate to reach out to us for any questions you may have.